Culinary Recycling: Cooking With Paper Bags


Tuesday, September 30, 2014
Thirty-five years ago, my kooky aunt came to Thanksgiving wearing a denim dress with a braided belt into which she had tucked a canary yellow pair of dish gloves.
She looked like a hero. She meant business. She crushed those dishes, and the plum pudding.
But that’s the last time I can recall anyone getting really fired up over cleaning dishes. Plenty of people are good at it, but nobody likes it.
Especially me. Pretty sure I’m allergic.
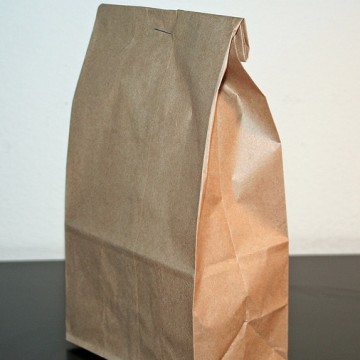
In the spirit of dish avoidance, and ultimately, in defense of our globe, I’d like to recommend double paper bags at the grocery store.
Don’t give me that Subaru stink-eye, lady. You want to measure carbon footprints? It just so happens that incorporating paper bags into your culinary arsenal can streamline preparation, simplify clean up, lower your water and electric bills and save the world.
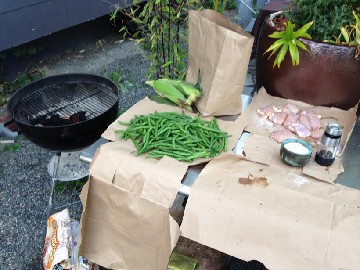
For the last warmish days of the year, here’s a four-to-five paper bag menu that happens entirely on the grill.
Grilled Chicken, corn and beans
Boneless, skinless chicken thighs are fantastic. Unlike the breast, which can quickly become a lufa, the thigh stays juicy throughout a broader range of temperature. It’s forgiving. And the fact that leg muscles actually get used makes dark meat far more flavorful.
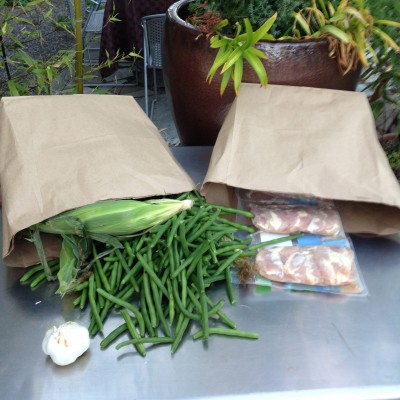
Open your first bag by slitting down the sides. Flatten out the bag and dump the chicken thighs onto the top of the bag. Spread them out with tongs and season them aggressively with salt and pepper.
Open the second bag the same way. Top and rinse green beans. Leave them damp and transfer them to the flattened bag. Season them with salt and toss to combine.
Roll the chicken down the bag to a dry spot of paper.
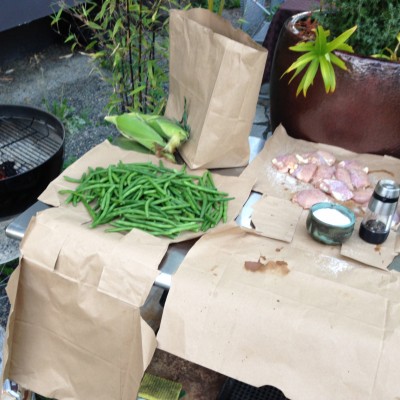
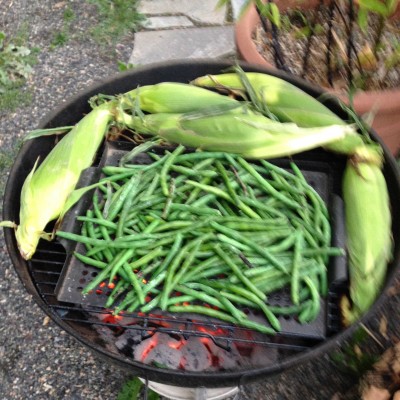
Put a perforated grill pan on the grill. Dump the beans onto the pan and allow them to blister. If you’re fancy, you can use the paper bag as a mixing bowl for the beans while they’re cooking. With gloves or towels, grab the grill pan and pour the beans onto the bag. Mix them around to ensure even browning. Dump them back on the grill. This is especially helpful if you try to cook too many beans at once (like me).
Slide ears of unpeeled corn around the grill pan. Move them around occasionally.
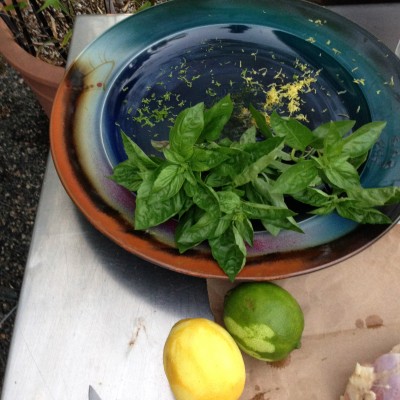
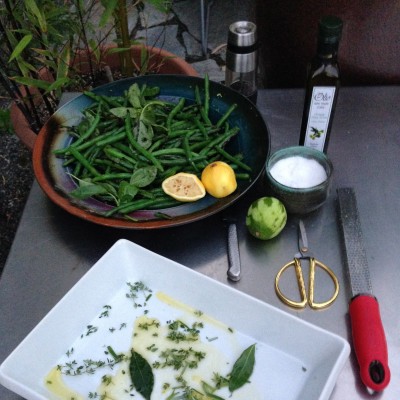
When the beans are nicely browned and cooked through, remove them to a bowl with some herbs and stuff. In this instance I used olive oil, lemon and lime zest, lemon juice, salt and basil sprigs. Keeping the garnish fresh and raw makes for an aromatic burst and a brighter flavor. Since the beans are first off the grill, you might hold off on mixing and keep them in the grill pan. Give them a quick heat-em-ups when the chicken comes off.
Pour a little oil on a piece of paper bag and wipe the bars of the grill. Dump the chicken on the grill and spread it out with tongs. The corn should still be around the edge of the grill. Don’t worry about the char. When the chicken is halfway cooked, move the corn to the remaining two bags (still doubled) and roll the top down tightly to steam the ears. Not only does the husk keep the ear warm enough to melt butter, but upon shucking, the silk comes away with the husk rather than staying on the ear. Use the steam bag again to collect cobs and husks.
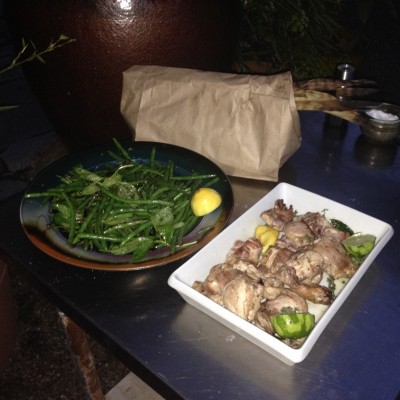
As with the beans, there is a flavor packet waiting for the chicken. Here it’s thyme, rosemary, fresh bay, rasped garlic, lemon and lime juice and olive oil. Tumble the chicken and adjust seasoning. Deliver the two wafty dishes and the bag of corn quickly! Remove the multipurpose paper bags smugly to the green bin.

Related Slideshow: Leather Storrs: Cooking With Paper Bags


Related Articles
- Leather Storrs: Why Italy is the ‘Bull’ of Food
- Leather Storrs: So You Want to be a Chef . . .
- Critics Critiqued: Tips for Portland Food Writers
- Leather Storrs: Why Guinea Pigs Are A Perfect Protein


 Delivered Free Every
Follow us on Pinterest Google + Facebook Twitter See It Read It